How to Measure Sliding Door Opening Right
How to Measure Sliding Door Opening Right
A sliding glass door can make a room feel larger, brighter, and more efficient – but only if the opening is measured correctly. If you are figuring out how to measure sliding door opening dimensions for a home office, closet, conference room, or interior divider, a small mistake at this stage can create delays, visible gaps, or a system that simply does not perform the way it should.
For premium interior glass systems, accuracy matters for more than appearance. It affects panel alignment, soft and silent operation, hardware placement, safety, and the final visual line of the installation. The good news is that the process is straightforward when you know what to measure and where errors usually happen.
How to measure sliding door opening step by step
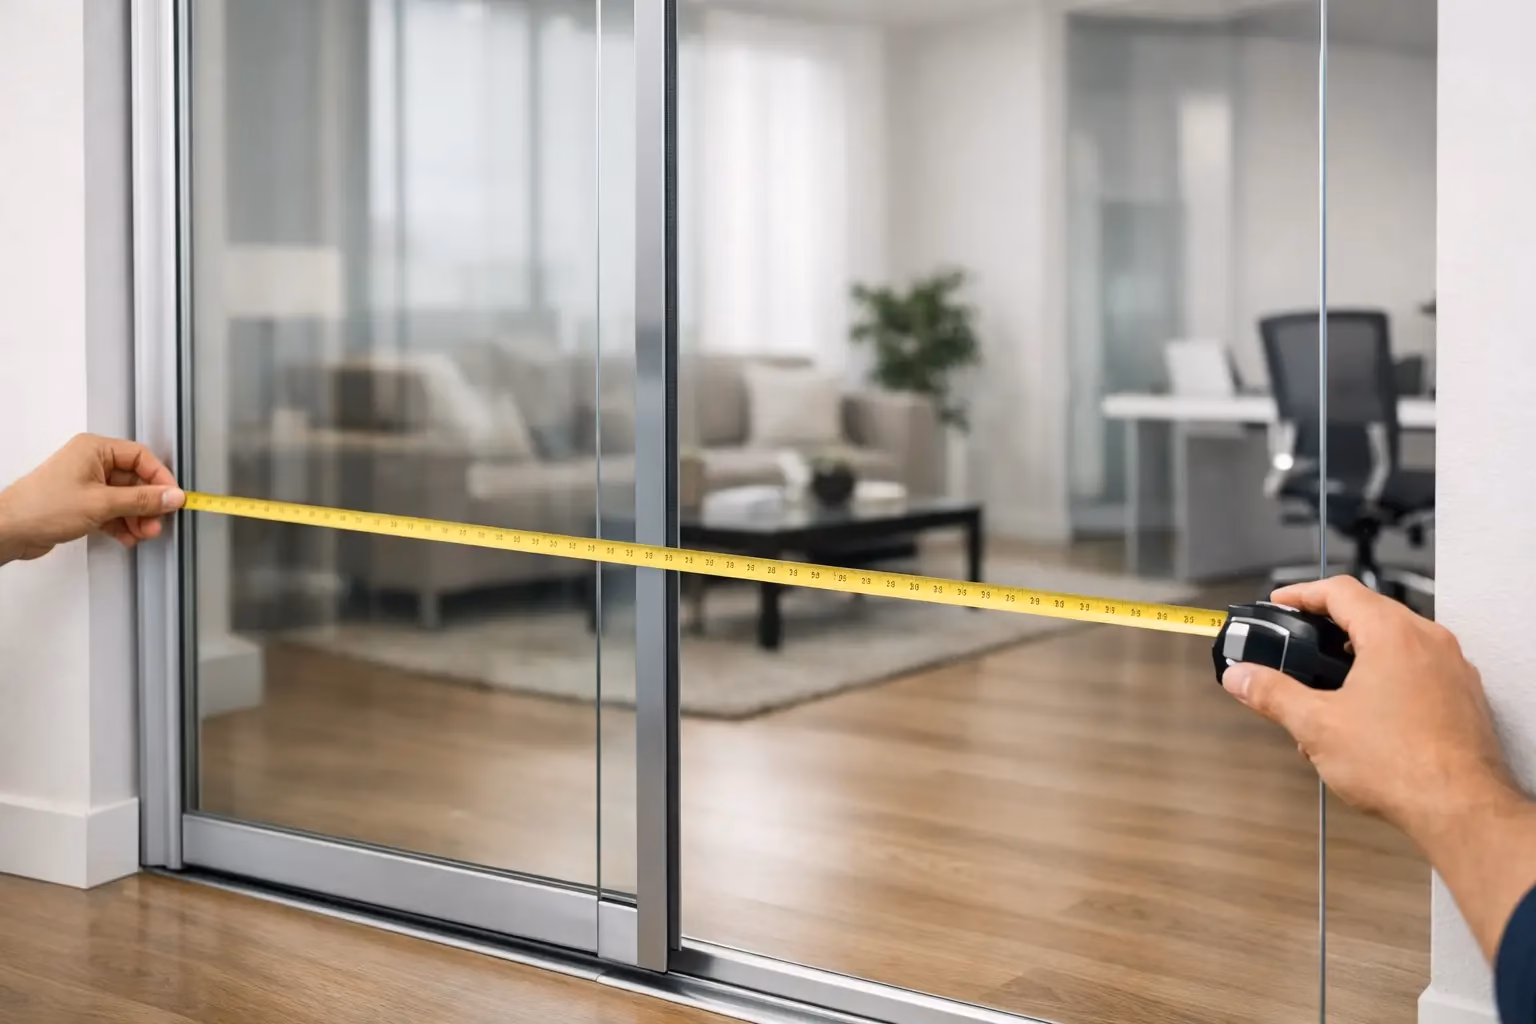
Start with three basic tools: a steel tape measure, a level, and a notepad or phone for recording dimensions. A laser measure can help in larger commercial spaces, but a tape measure is still the better choice for confirming exact opening sizes.
The first dimension is the width of the opening. Measure the clear opening from one finished side to the other in three places – at the top, middle, and bottom. Record all three numbers. Do not assume the walls are perfectly straight, even in newer construction. In many office build-outs and residential remodels, the smallest variation can matter when ordering a custom sliding glass door system.
Next, measure the height in three places as well – left side, center, and right side. Again, record each number. If the floor has any slope or the header is slightly out of level, these measurements may differ. That difference helps determine whether the opening is truly square and whether any adjustment will be needed before installation.
Finally, check the depth and surrounding conditions. For many interior sliding systems, you are not fitting a swinging slab into a frame, but you still need adequate wall surface, structural support, and clearance for the track, glass panel travel, and hardware. Measure the available wall area next to the opening where the door will slide when open. If the panel cannot clear the opening fully, the usable passage width will be reduced.
Use the smallest measurements, not the largest
One of the most common mistakes in how to measure sliding door opening size is choosing the largest width and height because it seems more generous. In practice, the smallest measurement is usually the critical one. It tells you the real limit of the opening.
If your width reads 72 inches at the top, 71 7/8 inches in the middle, and 71 3/4 inches at the bottom, the opening should be treated as 71 3/4 inches wide until a professional confirms otherwise. The same logic applies to height. This protects the fit of the system and reduces the risk of field modifications later.
That does not always mean the finished glass panel will match that exact number. Sliding systems are engineered with hardware tolerances, bottom guides, and track specifications that affect final sizing. But your opening measurements need to reflect reality, not an idealized version of the opening.
Check whether the opening is square and level
A sliding glass door system depends on alignment. If the opening is out of square, the issue may not be obvious until the panel is installed and the gap lines are uneven or the door does not move as intended.
Use a level to check both side jamb areas vertically and the header horizontally. Then measure diagonally from the top left corner to the bottom right corner, and from the top right corner to the bottom left corner. If the two diagonal measurements are the same, the opening is square. If they differ, the opening is out of square and may need correction or allowance in the installation plan.
This matters even more with glass because glass is visually precise. A misaligned wood door can sometimes hide minor imperfections. A clean frameless or minimal-frame glass installation tends to reveal them.
Know what counts as the opening
Not every buyer measures the same reference points, and that is where confusion starts. The opening should usually be measured from finished surface to finished surface. That means drywall to drywall, finished floor to finished header, or trim edge to trim edge if the trim is part of the final built condition.
Do not measure from rough studs unless you are ordering based on rough opening specifications. Do not guess where the finished floor height will land if flooring is still being installed. If tile, hardwood, carpet tile, or leveling underlayment will change the final height, that must be factored in before ordering.
For renovation projects, this is especially important. An opening measured before flooring is complete can be off enough to affect bottom clearance, guide placement, or the visual reveal beneath the glass.
Measuring for single-panel vs. bypass systems
The right measuring approach also depends on the door configuration. A single sliding panel that moves across one wall needs enough adjacent wall space to park the panel when open. A bypass system, where one panel slides behind another, has different track and overlap requirements.
For a single-panel system, measure the opening width and also measure the available wall on the slide side. Ideally, that wall area should be at least as wide as the panel itself, unless the system is designed for partial opening only. Watch for light switches, thermostats, outlets, millwork, return walls, and furniture that could interfere with the panel path.
For bypass doors, the opening width is still essential, but so is the overlap between panels. Too little overlap can affect privacy, light control, and the visual finish. In closets and room dividers, this becomes a design decision as much as a technical one.
Commercial and residential openings have different challenges
In commercial interiors, the opening may sit within aluminum framing, demountable partition systems, or newly built gypsum walls. The dimensions may look consistent on plan but vary in the field because of floor transitions, ceiling conditions, or existing building tolerances. Measure the actual site condition, not the drawing alone.
In residential spaces, the biggest variables are often trim details, baseboards, floor buildup, and wall unevenness. Homeowners also tend to focus on clear opening size, which is understandable, but the full installation envelope matters just as much. A beautiful glass room divider needs room to operate quietly and safely, not just room to fit.
That is why many custom projects benefit from one final verification before production. Precision upfront protects the visual result and shortens the installation timeline.
Common measuring mistakes to avoid
Most measurement problems come from speed, not complexity. People measure only once, record rounded numbers, or forget to check for obstructions. Others measure the old door slab instead of the actual opening, which can be misleading if the previous installation was undersized or shimmed heavily.
Another common issue is ignoring floor condition. If the floor is uneven, the panel may need a different bottom clearance than expected. For glass systems built for safety and performance, those clearances are not cosmetic details. They affect the way the door tracks, guides, and locks into position.
It is also worth checking whether the opening includes casing or trim that will remain after installation. If that trim projects into the path of the panel or affects hardware mounting, it should be part of your planning from the start.
When custom sizing is the better choice
Standard sizes work well when the opening is conventional and the surrounding conditions are predictable. But many interior projects are not that simple. A home office enclosure, a salon suite, or a conference room entry may need exact dimensions to maintain sightlines, align with adjacent glass panels, or meet a specific design intent.
Custom sizing is often the better route when the opening is not perfectly square, the ceiling height is unique, or the project calls for a more architectural finish. It also helps when you want the system to feel integrated rather than added later.
For design-driven interiors, measurement is part of the product quality. The cleaner the fit, the more refined the final result will look.
Before you submit your measurements
Review every number once more and label each dimension clearly. Note width at top, middle, and bottom. Note height at left, center, and right. Mark floor conditions, wall obstructions, trim details, and the side where the panel will slide. If possible, include photos with your notes for reference.
If the project is large, highly visible, or custom, a field verification is a smart step. It can save time, prevent remakes, and help ensure the system arrives ready for a faster installation. That is especially valuable for commercial schedules and residential projects where finish quality matters.
At Doors22, we see measurement as the first step in building a glass system that looks precise and performs that way every day. Measure carefully, account for the real site conditions, and you will be much closer to a finished sliding door that feels quiet, polished, and built exactly for the space.