Transform Your Space: A Step-by-Step Guide to DIY Glass Closet Doors
Transform Your Space: A Step-by-Step Guide to DIY Glass Closet Doors
Transform Your Space: A Step-by-Step Guide to DIY Glass Closet Doors
Have you ever opened a closet door and felt that wave of chaos flood out? Just last week, I stood before mine, overwhelmed by piles of clothes, shoes, and a multitude of bags spilling over. It dawned on me that not only did my closet need some organization, but it also felt like a missed opportunity for the overall space. The walls were solid, closed off—stifling, even. What if I replaced those old wooden doors with something that invited light and air into the mix? That’s when the idea struck: DIY glass closet doors.
At first, it felt a bit daunting. I’m no expert handyman. But the allure of transforming my space with a project that felt both functional and aesthetically pleasing was enough to push me forward. It’s amazing how the promise of a brighter, more open atmosphere can motivate us to tackle new projects. If you’re feeling the same way, let’s walk through the steps together.
Step 1: Measure Your Space
First things first: measuring. I remember standing before the closet, tape measure in hand, jotting down numbers. Measuring your existing doors is essential, not just for the glass panels but for the entire structure. I found that the more accurate my measurements were, the smoother the installation would go. Double-checking my numbers gave me peace of mind—after all, glass is a commitment.
Step 2: Choose the Right Glass
Next came the selection of the glass. The options can be overwhelming: frosted, clear, tinted. I decided on frosted glass since it would offer a bit of privacy while still letting light in. The beauty of this choice became apparent when I imagined the light dancing through the panels without exposing the inner chaos. I purchased tempered glass for safety reasons, ensuring that it could withstand daily wear and tear.
Step 3: Gather Your Materials
Armed with my measurements and glass selection, it was time to gather the materials. I visited the local hardware store, which felt like an adventure. I picked up a couple of door track systems, hinges, and all the necessary tools. It was exciting to think that each item I placed in my cart was a step closer to transformation.
Step 4: Remove Old Doors
Now came the hands-on part: removing the old doors. With a friend’s help, I detached the existing doors and stood back, taking in the emptiness. The open closet felt like a blank canvas, ready to be transformed. It was almost liberating to see the space stripped back to its core. A few screws here and there, and those heavy doors were gone!
Step 5: Install the New Track System
Once the old doors were removed, we turned our focus to the new track system. This step required a bit of precision, ensuring it was level and firmly secured. I remember using a level tool for the first time and feeling quite the handyman as I adjusted the brackets.
With the track system in place, it was time to hang the glass. This required care and teamwork. Lifting the glass panels into position was a two-person job; we moved slowly, making sure to secure them firmly in place.
Step 6: Add Final Touches
After securing the panels, it was time for those final tweaks. I remember standing back and examining the space. A few finishing touches—perhaps a stylish handle or some decorative hardware—could really elevate the look. It’s amusing how small details can transform an entire space. A sleek handle, in matte black, gave the glass a modern edge, and I couldn’t help but smile as I took in my handiwork.
Step 7: Enjoy the Transformation
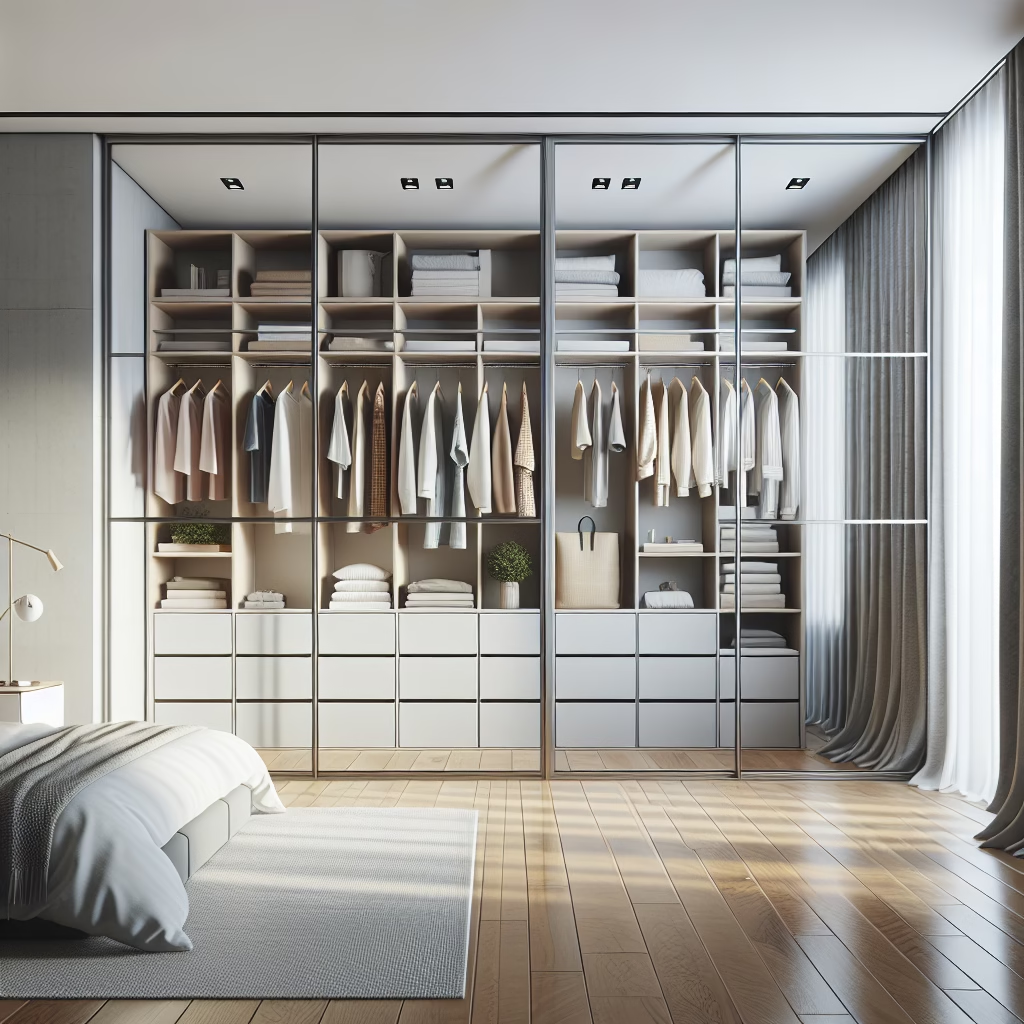
The moment of truth arrived. As I gently pushed the glass doors open, soft light flooded the once-dim space. It felt as if I had opened a window onto new possibilities. No longer did the closet feel like a claustrophobic abyss; it became a glimpse into organization, a showcase of carefully curated clothes.
But the real beauty? The transformation of my whole room. The glass doors reflected light, making the entire space feel larger and more inviting. I could see the light bouncing off the finished panels, creating a soft ambiance that shifted the entire energy of the room.
Reflection
Throughout the entire process, I learned that DIY projects are as much about self-discovery as they are about the end product. The challenges I faced—from measuring to installing—taught me a lot about patience and precision. And in the end, it wasn’t just the glass doors that transformed my space, but also my perception of what a DIY project could be.
Now, when I walk past my closet, I feel a sense of pride mixed with joy. It’s not just a closet; it’s a testament to what we can achieve when we let creativity lead us. The mirror-like quality of the glass reminds me of that chaotic moment: how far I’ve come, both visually and emotionally.
So, if you’re standing before your own closet, feeling that eerie blend of frustration and untapped potential, I encourage you to consider the possibilities. Glass closet doors might just be the transformative touch your space needs. And who knows? You might find those small choices resonate well beyond the closet door, enriching your home and your life in unexpected ways.