
How to Install Sliding Closet Doors Properly
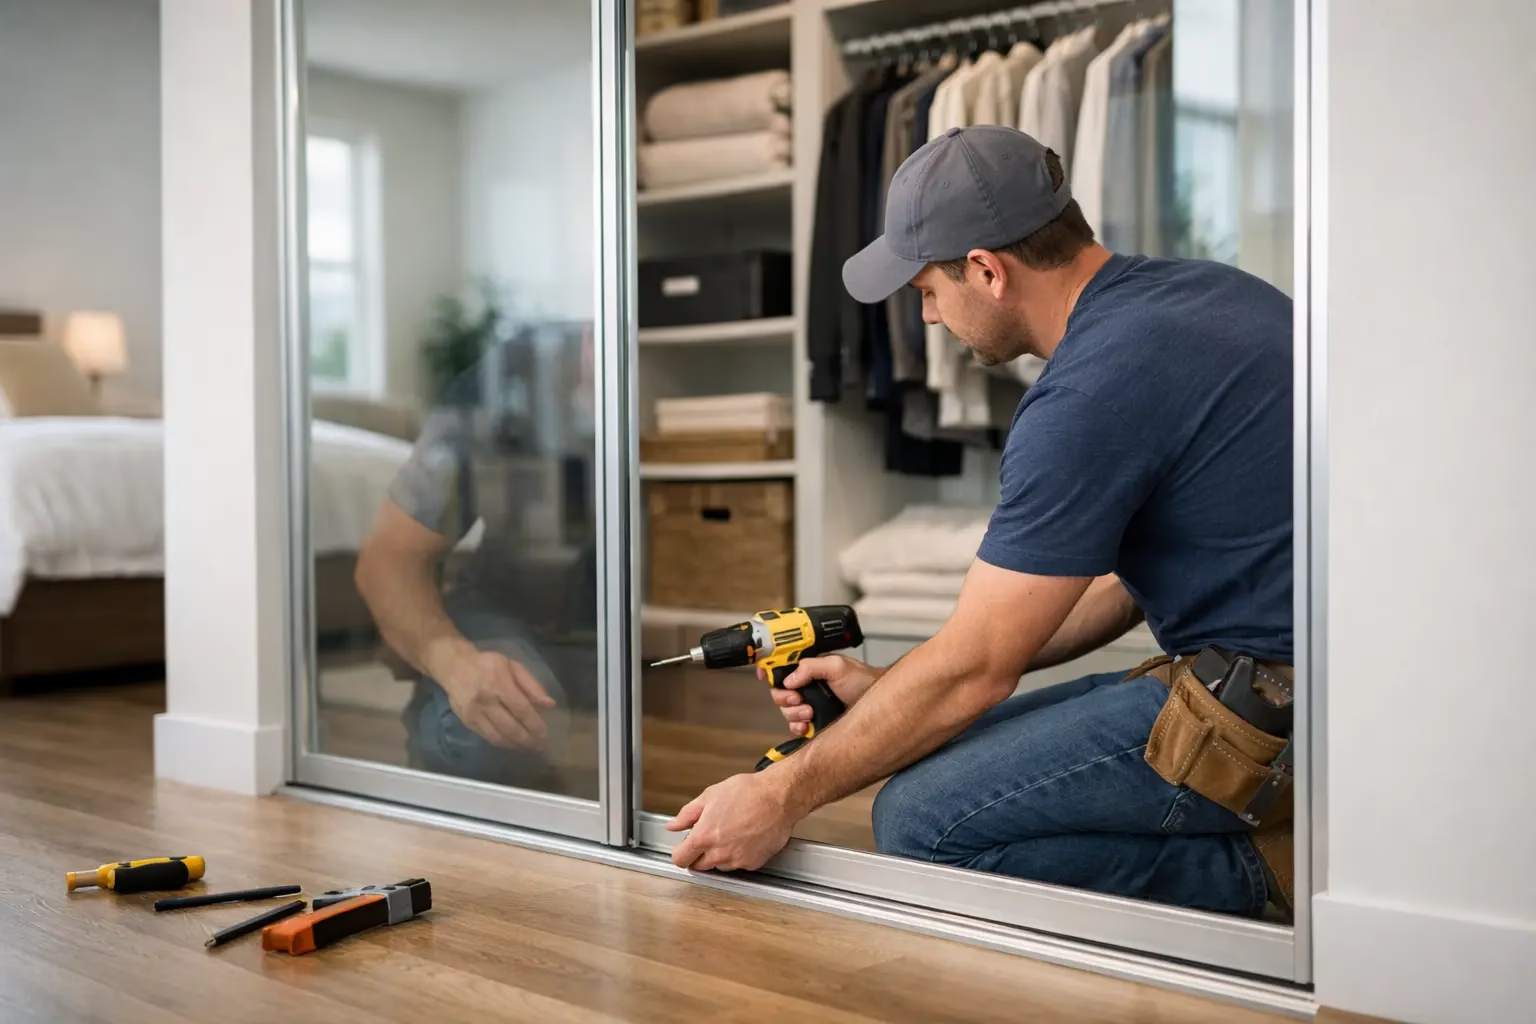
How to Install Sliding Closet Doors Properly
A sliding closet door that glides quietly and closes evenly starts long before the panels go on the track. When learning how to install sliding closet doors, the highest-value work is precise measuring, solid mounting, and careful track alignment. A few millimeters of error can cause rubbing, gaps, noisy travel, or doors that slip out of position.
For a modern bedroom, home office, or dressing area, sliding glass closet doors can preserve valuable floor space while bringing a lighter, more refined look to the room. The installation process is manageable for an experienced DIY homeowner, but large glass panels, custom openings, and uneven walls often justify professional coordination. The goal is not simply to hang a door. It is to create a stable, safe system built for daily use.
Measure the Opening Before Ordering
Sliding closet doors are only as accurate as the opening measurements behind them. Measure the finished opening after flooring, drywall, trim, and any other surface materials are complete. Taking measurements too early is a common reason a door system arrives with the wrong height or insufficient track clearance.
Measure the width at the top, center, and bottom of the opening. Then measure the height at the left, center, and right. Use the smallest width and smallest height as your working dimensions unless your door manufacturer provides different instructions. This approach accounts for walls, headers, and floors that are not perfectly straight.
Check the floor with a level as well. A floor that slopes across the opening may require shims or track adjustment so the panels do not roll open on their own. If the opening is noticeably out of square, do not assume the door hardware will correct it. Custom sizing or trim adjustments may be the better answer.
Before you proceed, confirm whether you are installing bypass doors, which overlap as they slide, or a single-panel system. Bypass doors need enough clearance for two panels and typically require dual tracks. A single sliding panel may use a different header, bottom guide, and stopping arrangement.
Tools and Materials for Sliding Closet Door Installation
Have the hardware and layout tools ready before opening the door packaging. This reduces the chance of moving a heavy panel repeatedly while looking for a missing tool. Most installations require:
- Tape measure, pencil, level, and combination square
- Drill/driver with appropriate bits and screw anchors
- Stud finder and screws sized for the header structure
- Hacksaw or miter saw with the correct blade if the track must be cut to length
- Safety glasses, work gloves, and a second person to help lift glass panels
Your specific kit may include top and bottom tracks, rollers, guides, bumpers, anti-jump clips, stops, adjustment wrenches, and mounting fasteners. Keep all components organized by door panel. Do not substitute hardware unless it is rated for the panel weight and system design.
Confirm the Header Can Carry the Load
The top track must be attached to a structurally sound header or blocking, not just drywall. Locate studs and mark their centers before drilling. If your opening has a metal header, concrete, or masonry construction, use the approved anchors and installation method for that substrate.
This step matters even more with glass. Glass door systems are engineered for strength, but their performance depends on a track that stays level and secure. A loosening track can create poor alignment, increased roller wear, and a safety concern.
How to Install Sliding Closet Doors Step by Step
Start by reading the dimension chart and hardware instructions supplied with your system. Track layouts, roller adjustment points, and guide placement vary between manufacturers. The process below covers the core sequence for most interior sliding closet door systems.
1. Mark the Track Location
Mark the centerline of the closet opening on the header. For bypass doors, the track needs to sit at the correct offset so each panel clears the other, the jambs, and any trim. Use a level and square to transfer marks cleanly from the opening face to the mounting surface.
If the top track must be cut, measure twice and cut once. Deburr the cut edge so it does not damage rollers or leave a sharp surface near the end cap. Test-fit the track before drilling holes.
2. Install the Top Track Level
Hold the track in place and fasten it into the marked studs or solid backing. Check it with a level before fully tightening the screws. Long tracks can appear level to the eye while still having enough slope to make a door drift.
Use every required mounting point. Skipping fasteners may save a few minutes, but it places more stress on the remaining screws and can compromise smooth operation over time. Once installed, confirm that the track is straight, firmly supported, and free of debris.
3. Assemble and Prepare the Door Panels
Install rollers, hangers, or panel brackets according to the product instructions. With framed glass doors, make sure all fasteners are evenly tightened. Do not overtighten hardware against glass or force a bracket into place. Tempered safety glass is durable in normal use, but edges and hardware connections must be handled correctly.
This is also the right time to install any pull handles that are easier to access while the panel is flat and supported. Place the panel on clean cardboard or padded blocks, never directly on a hard concrete surface.
4. Hang the Panels in the Correct Order
For a typical bypass setup, the rear panel goes onto the rear track first, followed by the front panel. Lift each panel with a helper, engage the top rollers, and lower it slowly into position. Install bottom guides, floor channels, or anti-jump hardware once the panel is hanging as designed.
Bottom guidance is not optional. It keeps the door moving in a controlled path and prevents lateral swing. Doors22 systems use safety-focused bottom-wheel locking design to support stable movement and reliable everyday operation, particularly where clean glass panels need to remain precisely aligned.
5. Adjust the Rollers and Door Stops
Most sliding systems include adjustment screws at the roller assemblies. Turn them gradually to raise or lower each side of the door. Your target is an even reveal at the top and sides, consistent overlap between bypass panels, and smooth travel without scraping the track or floor guide.
Set the door stops after alignment is complete. Stops should prevent the door from striking the jamb, hardware, or adjacent panel with force. Add bumpers where specified, then slide each panel from end to end several times to confirm quiet movement.
Solve Common Sliding Door Problems Before Finishing
If a door rolls open by itself, recheck the level of the top track and floor. A slight slope is usually the cause. If it drags, inspect the bottom guide for debris, make sure the panels are seated correctly, and adjust roller height in small increments.
A door that rubs another panel often signals incorrect track placement, insufficient overlap clearance, or rollers set at uneven heights. Do not force the door past the friction point. Continued rubbing can mark glass, damage finishes, and wear out roller components prematurely.
Rattling is usually a stop, guide, or fastener issue. Confirm that the track is securely anchored, end caps are installed, and guide components match the panel thickness. For glass doors, check that protective gaskets and setting blocks are in their intended positions.
When Professional Installation Is the Better Choice
A standard lightweight bypass door can be a realistic DIY project when the opening is square and the structure behind the header is known. Professional installation is often the better investment for oversized glass panels, custom-width openings, floor-to-ceiling systems, concrete or steel construction, and projects requiring exact visual alignment.
It also depends on the finished result you expect. A premium sliding glass door should appear effortless in use: straight reveals, silent travel, controlled stops, and no visible compromises around an uneven opening. Installation coordination can reduce risk while protecting the finish and performance of a made-to-measure system.
Once the doors are adjusted, clean the track regularly with a vacuum or soft brush and wipe the glass with a non-abrasive cleaner. That small maintenance routine keeps rollers moving freely and preserves the crisp, open look that made sliding closet doors the right choice for the space.
.png) Share this post with others
Share this post with others


